Integrations & Connectors
Connectors link Infodeck with sensor networks and external services. Configure them in Settings → Integrations in your workspace.
For sensors, the connector connects the data source, the device identifier matches the message to an asset, and its Asset Type turns the message into measurements. LoRaWAN sensors use a DevEUI; other providers use different identifiers. Registering an asset and saving a connector are setup steps; check a recent reading to confirm the full connection works.
Quick summary: Choose your provider below, follow its setup guide, and verify the result with one sensor or space before adding the rest.
Connector guides
| Connector | What the guide covers |
|---|---|
| Actility ThingPark | Create an HTTP connection, register sensors, select an Asset Type, confirm readings and correct settings later. |
| LORIOT | Forward application readings, configure the access token and register sensors. |
| ChirpStack v4 | Configure the HTTP uplink integration and the separate server connection settings. |
| The Things Network | Connect an application webhook and match devices to their Asset Types. |
| uHoo Cloud | Configure cloud access and link sensors for scheduled reading collection. |
| HTTP webhook | Send a supported message from a custom system and verify its decoded measurements. |
| Smplrspace | Connect an account, add spaces and check floor-plan access. |
| Managed connectors | Understand setup for Infodeck networks, Infodeck MQTT and existing managed or messaging connections. |
Choose a connector
Open Settings → Integrations → Add connector. Use IoT networks for supported sensor providers and Automation for HTTP webhook or Smplrspace. Give the connection a Connector name, add an optional Description, then click Create and continue to configure it.
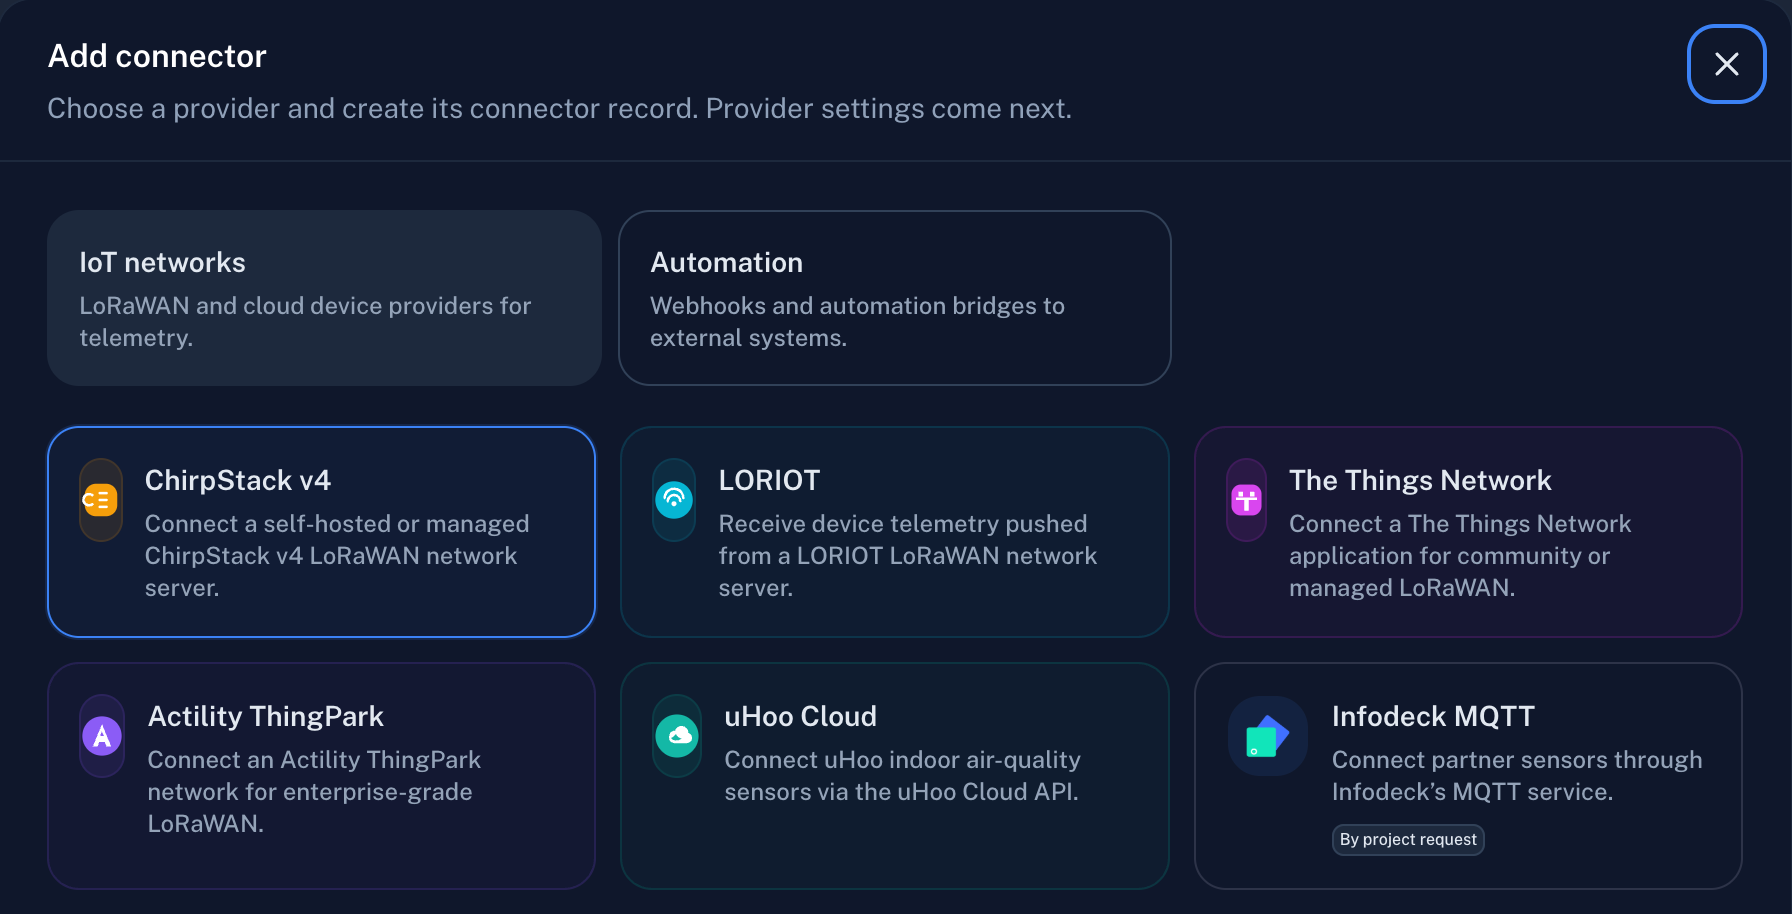
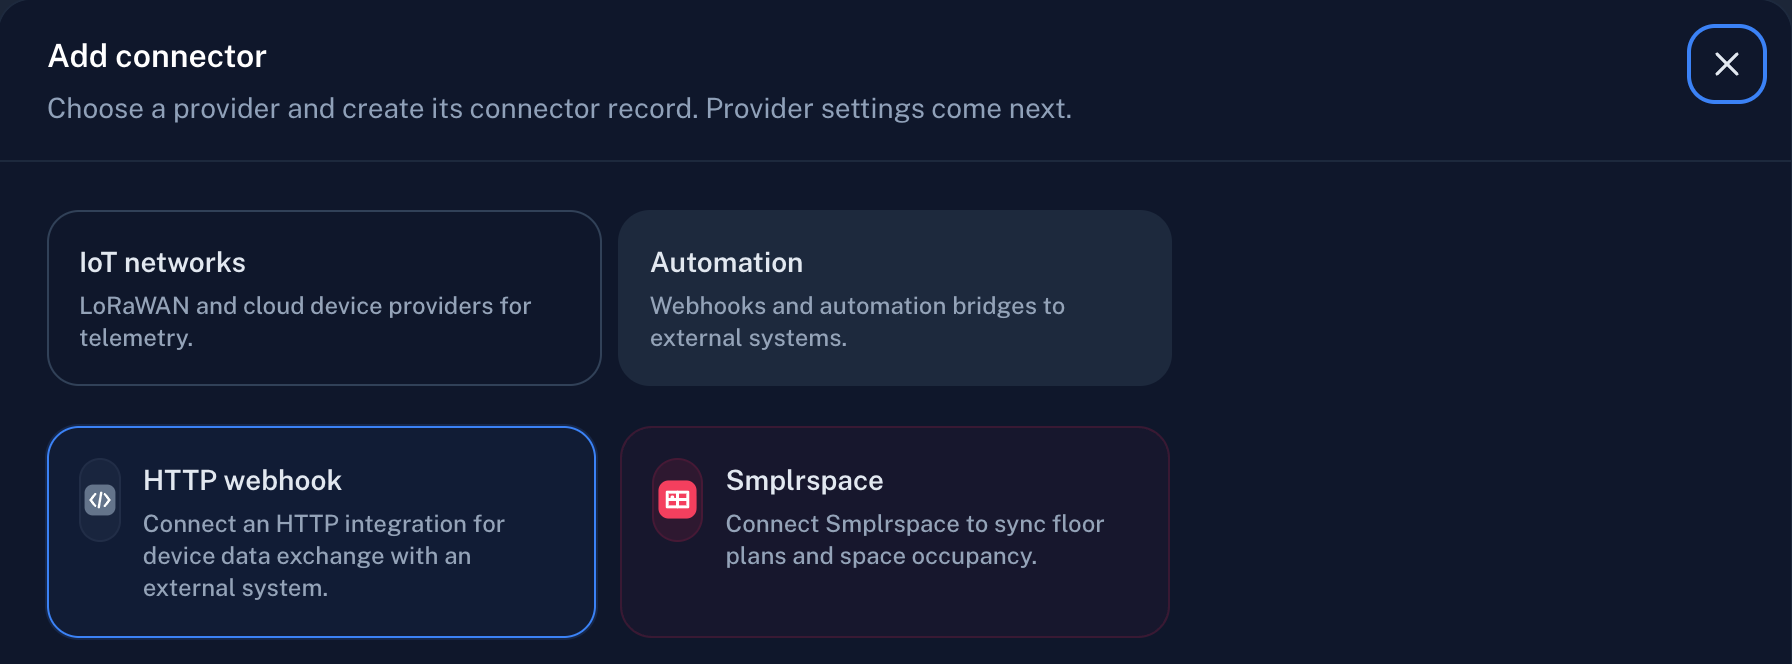
Some connections need Infodeck setup and are not self-service choices. See Managed connectors if your provider is already configured or marked By project request.
Required values differ by provider. Copy connection values directly into the intended provider and keep them confidential. Use the appropriate guide instead of reusing another network's settings.
Before connecting sensors
- Confirm that the sensor is registered and transmitting on its network.
- Select an Infodeck Asset Type with the correct decoder and measurement fields for that model.
- Register or import the sensor with the matching device identifier and connector.
- Check its latest report time, reading history and current values.
A saved connector, a device count or a successful HTTP response alone does not confirm that useful measurements were stored. For example, a meeting-room sensor should show a recent temperature or air-quality value in its asset, not just appear in the connector list.
Correct a setting later
For ChirpStack v4, LORIOT, The Things Network, ThingPark, HTTP and uHoo, open the connector and choose Edit connector or Resume setup, depending on its setup state. Change the name, description or available connection fields, then click Save changes. A rename does not require entering the connection values again.
For a masked stored value, leaving the field blank keeps it. ThingPark also provides an explicit action to clear its optional command URL; follow its guide when removing that value. Provider-side routing and account settings must be corrected in the provider's console.
Smplrspace uses its own settings and Save settings action; see its guide. Managed connectors have different administration options, described in Managed connectors.
Available actions depend on the provider and your permissions. Ask your administrator if the expected action is missing. Avoid deleting and recreating a working connector to correct a setting.
Related guides
Need help with a particular sensor or network? Contact Infodeck Support.